Recently, I wanted to try running ASP.NET core in Linux to see how it compares to running it under Windows. Overall, it was a simple process but there were more steps than I expected to get up and running so I thought it helpful to blog about it and leave some bread crumbs for “future Bryan” or anyone else who is trying to do this. Since I don’t have a Linux machine I decided to create an Unbuntu virtual machine (VM) in Microsoft Azure. I certainly could have done it in Amazon Web Services (AWS) or Google Cloud Platform. The instructions are for Ubuntu on Azure but the process should very similar on Linux servers in other environments.
Here is how to do it:
Login to the Azure Portal
https://portal.azure.com
Create an Ubuntu VM
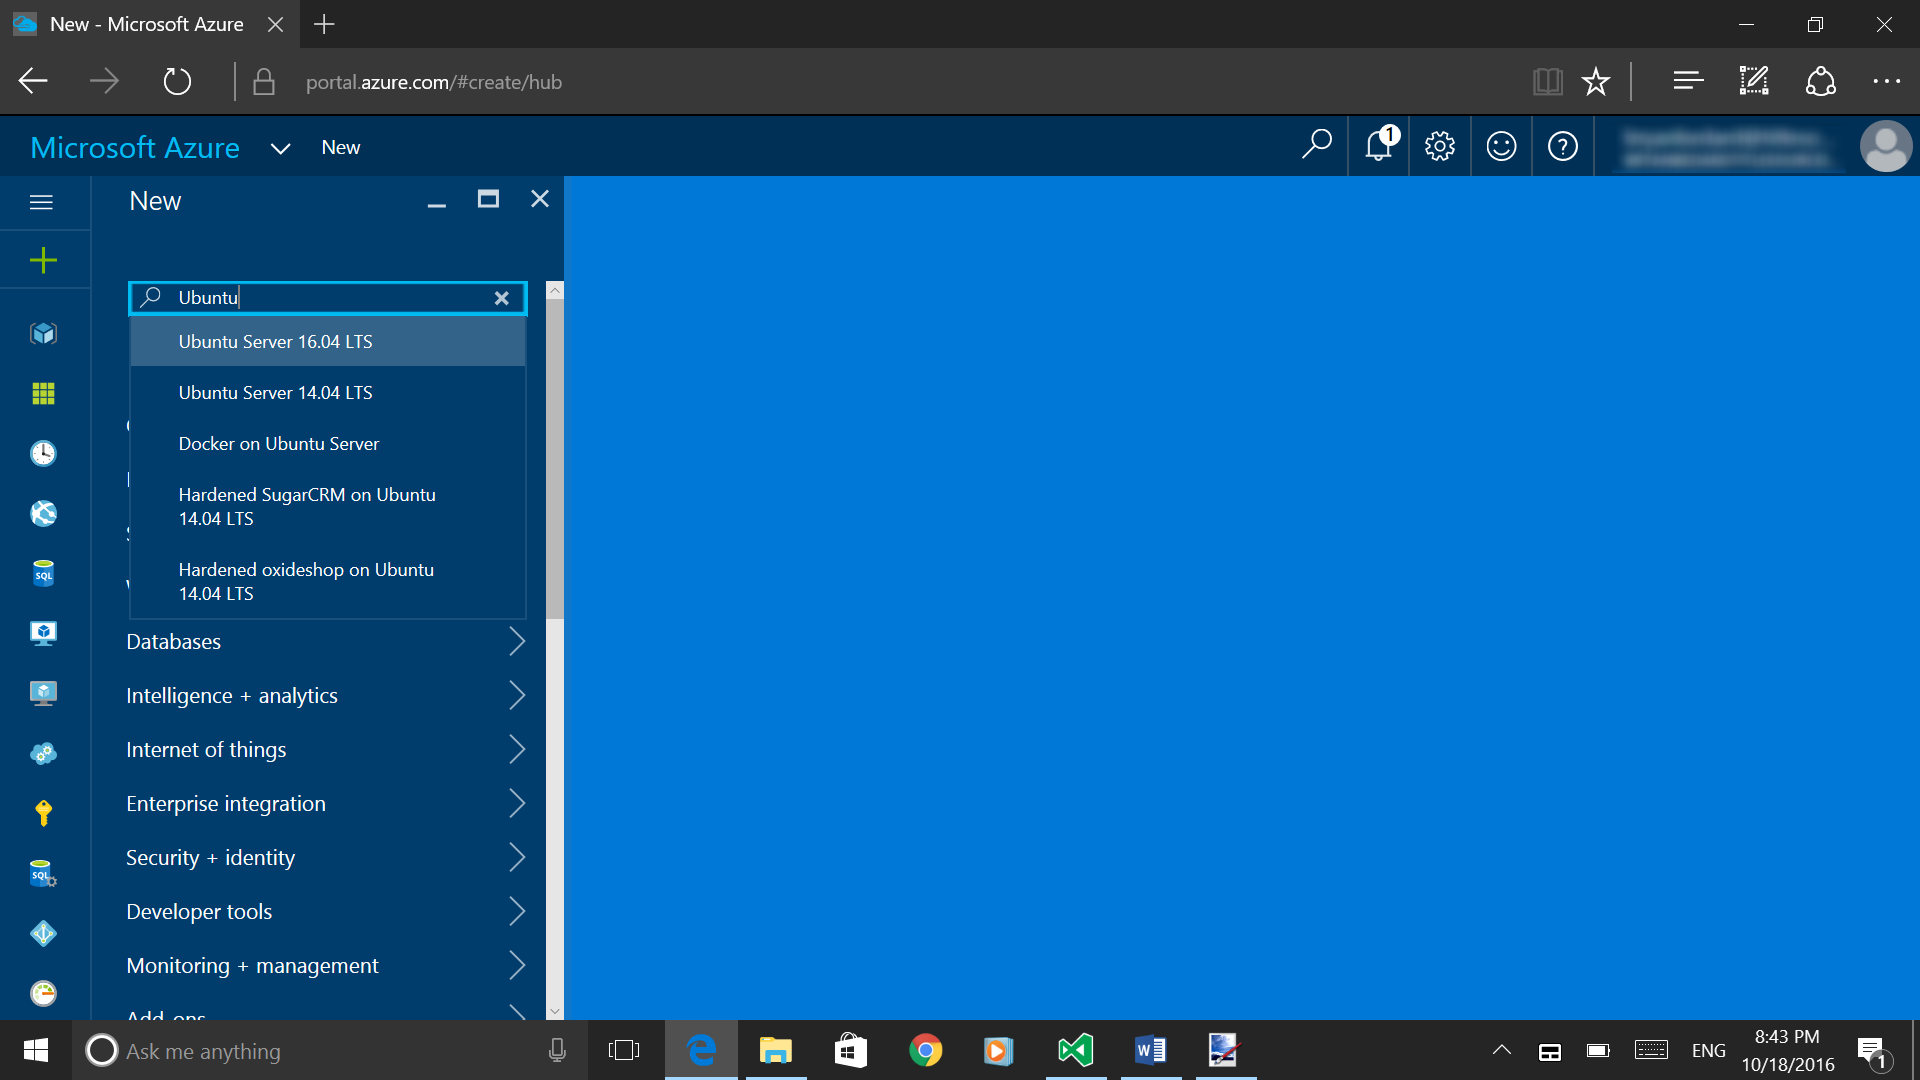
From the dashboard, click New and enter Ubuntu in the search box. Choose Ubuntu 16.04 LTS or whatever the current version is.
Choose Resource Manager as the deployment model. With this deployment model, you can put resources you create such as websites, SQL Databases etc. in a resource group and manage them as a single application. Read more about the Resource Manager model and its benefits here.
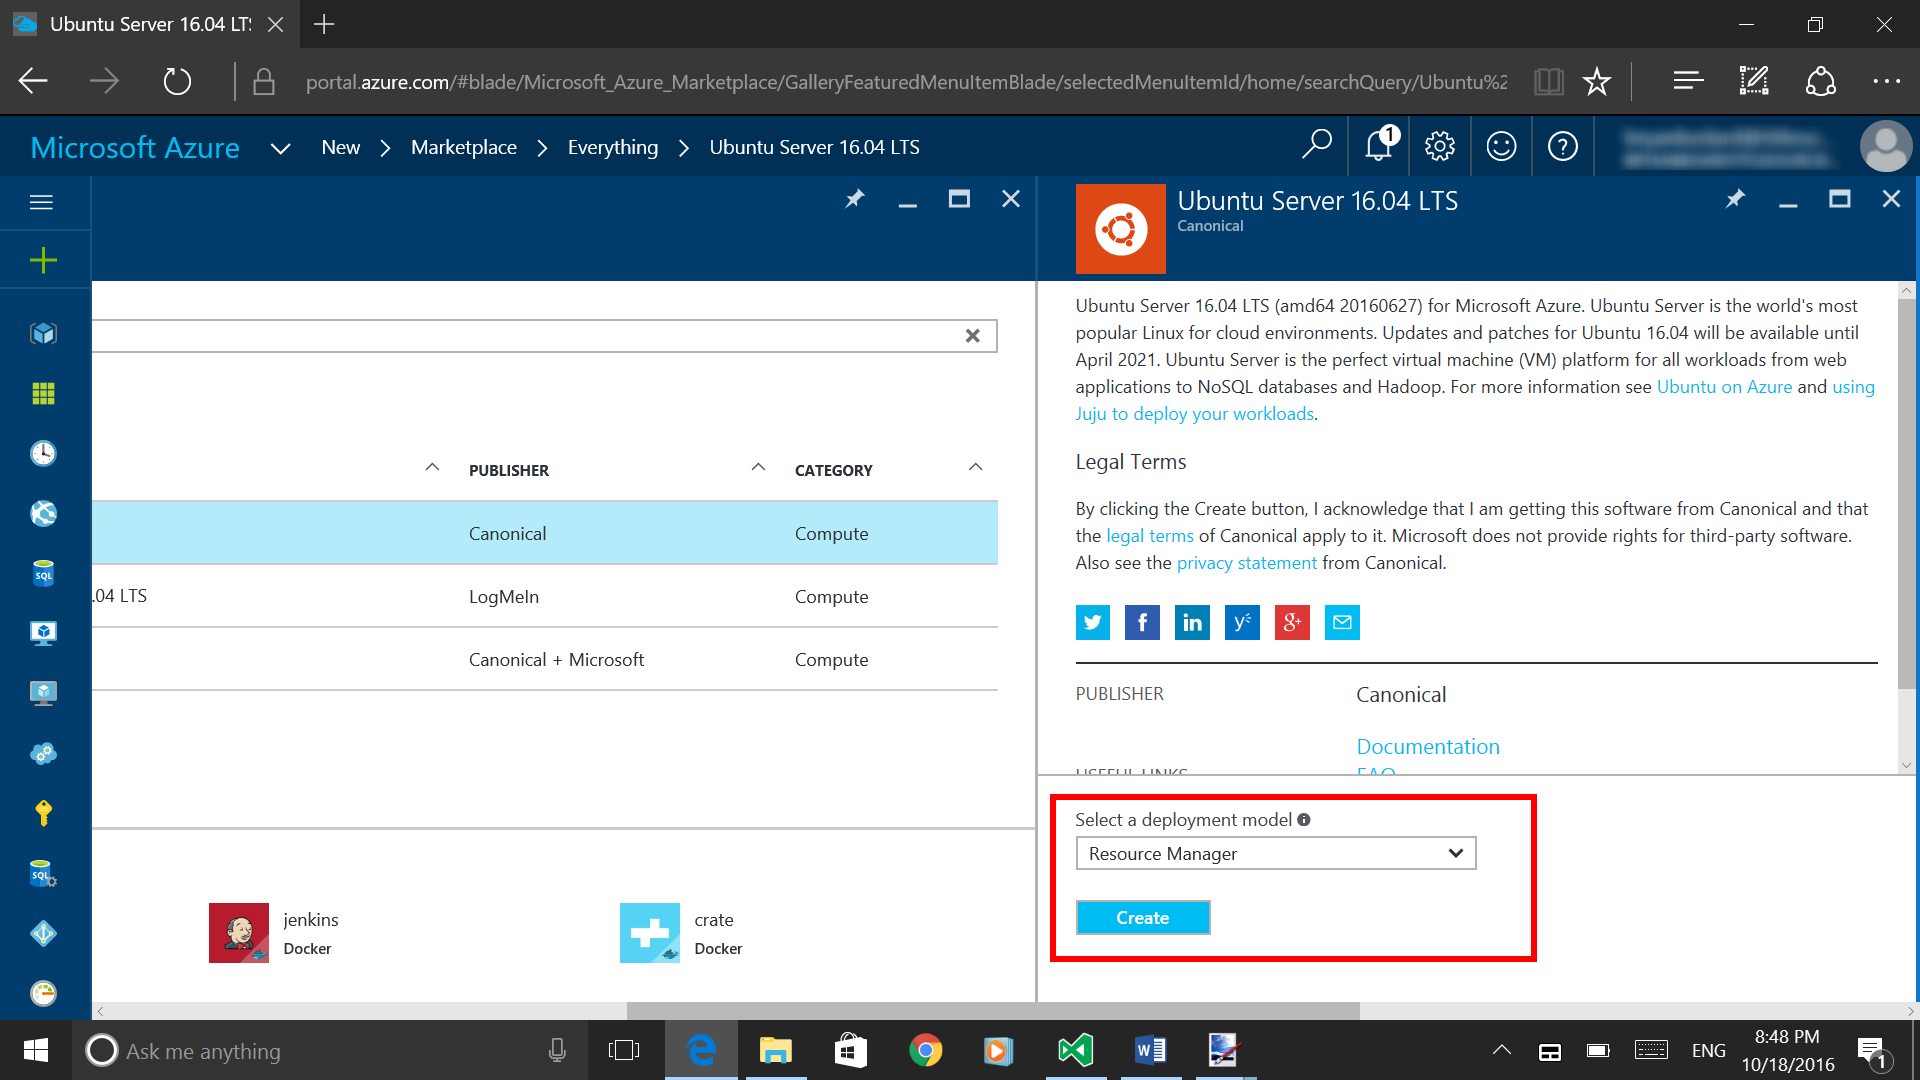
Click Create to configure the settings for your server. Enter these values:
| Name: |
dotnet-ubuntu |
| VM disk type: |
HDD |
| User name: |
(Choose a user name) |
| Authentication type: |
Password |
| Password: |
(Choose a password) |
| Subscription: |
(Choose a subscription) |
| Resource group: |
Create new |
| Resource group name: |
dotnet-ubuntu |
| Location: |
(Choose a location) |
Choose a size for your VM. An A1 standard is sufficient for this walkthrough which has 1 core, 1.75 GB of RAM and 2 data disks.
Accept the default options related to storage, virtual network, subnet etc. At the end of the wizard, click OK to create the VM. A tile will appear on your dashboard while the VM is being created.
Connect via SSH
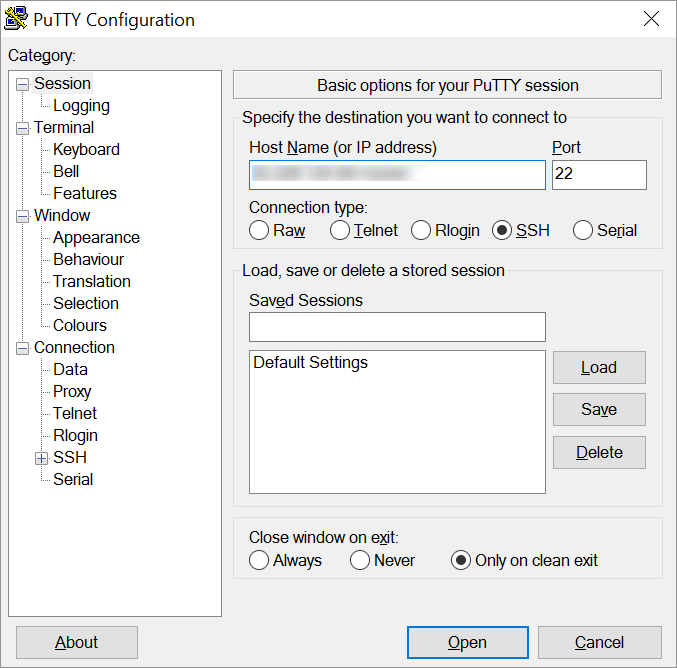
You can connect to your server via SSH using a tool such as PuTTY.
Once your server has finished launching, click to view it from the dashboard. Make note of its public IP address. If your server is not pinned to the dashboard, you can find it either under the Virtual Machines sub-menu or by clicking on the dotnet-ubuntu resource group on the Resource Groups sub-menu.
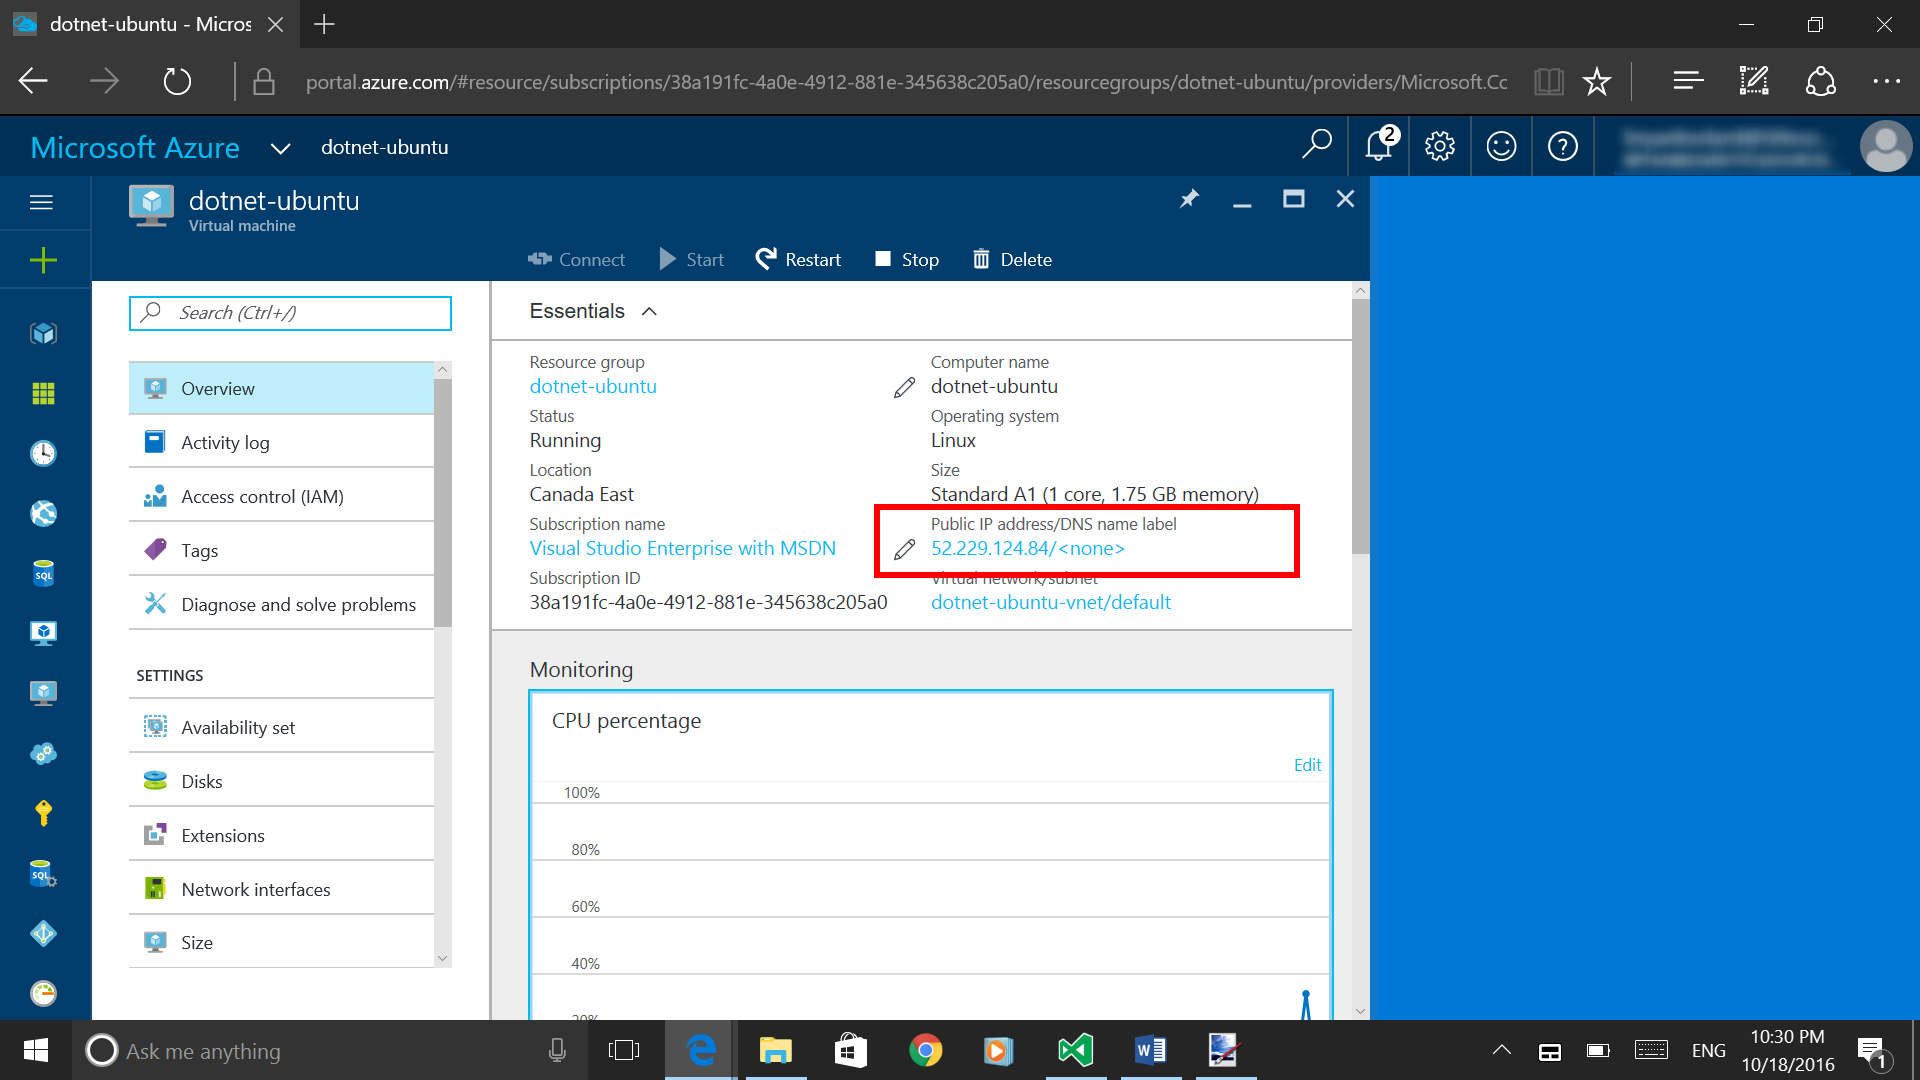
Run Putty and enter the public IP address of your server in the host name field. Connect using SSH on port 22.
You will get a security warning that server’s host key is not cached in the registry. Click Yes to indicate that you trust this server and that you want to add the key to PuTTY’s cache.

When prompted, enter the user name and password you chose while creating the server.
Install a Linux Desktop
To make it easier to work with your server, install a Linux desktop and connect to it with Remote Desktop Connection. There is a great blog post by Mark J Brown called Running Linux Desktops in Azure that walks you through the details of how to install a Linux desktop and open the RDP port. Mark’s blog post covers all of the steps we have covered here so far. The key steps I would like to preserve here as well are:
- Update apt-get to make sure it has the latest references to available software packages.
sudo apt-get update
- Install a Linux desktop. Mark recommends using XFCE which I also feel works well.
sudo apt-get install xfce4
- Install XRDP.
sudo apt-get install xrdp
- Open the RDP port, 3389 in the firewall settings for your VM in the Azure portal. Mark covers how to do this in his blog post. Basically, you need to locate the network security group your server is using and add an Inbound Security Role allowing RDP over TCP on port 3389.
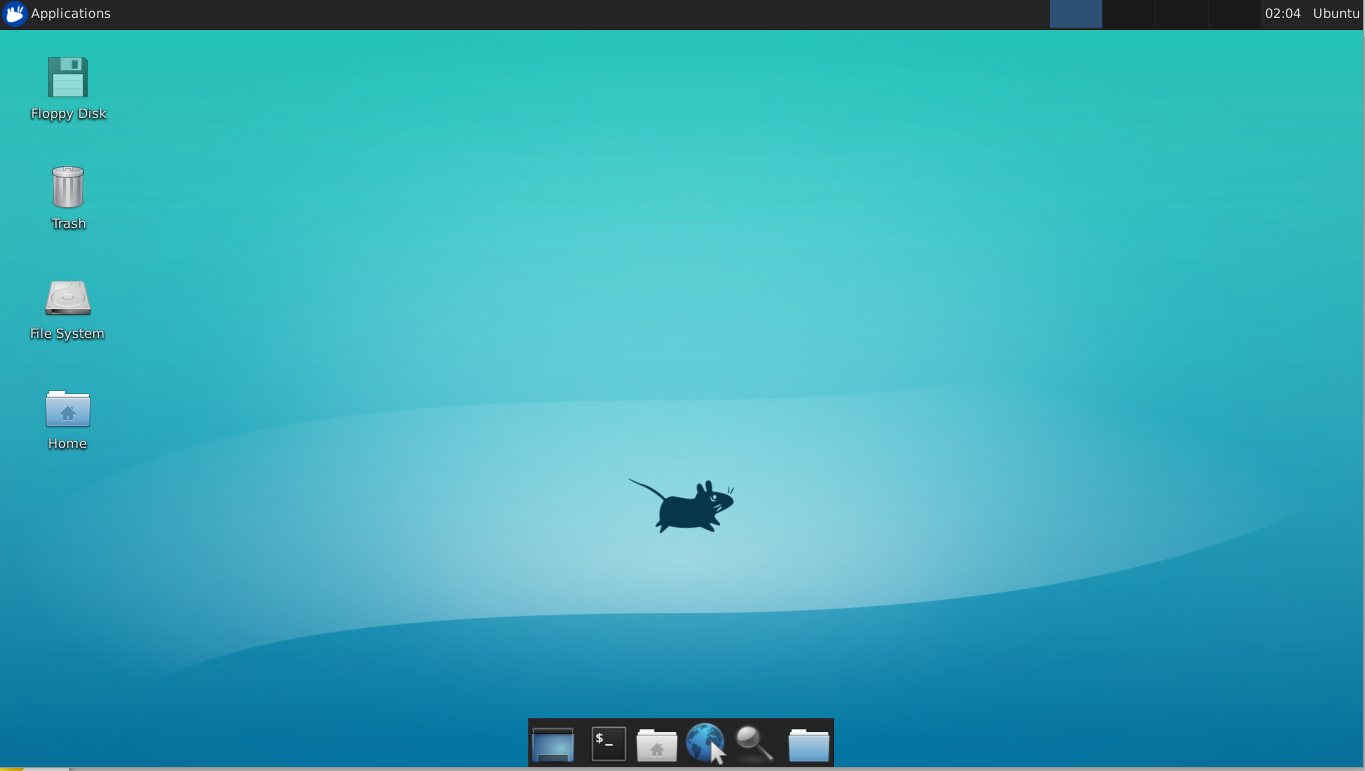
- Try connecting to your server. Run Remote Desktop Connection on a Windows PC and connect using the public IP address of the server. Login with the user name and password you chose while creating the server. You should see a desktop that looks like this.
Install a Web Browser
Install a web browser so that you can easily test your ASP.NET Core application from the server. Click the Applications button in the top left corner of the desktop and choose Terminal Emulator to open a command prompt. Run this command:
sudo apt-get install firefox
You can also run any of the command line commands in your PuTTY session instead of opening a command prompt in XFCE.
After Firefox is installed, click the Applications button and choose Firefox Web Browser from the Internet sub-menu.
Other browsers are available too of course such as Google Chrome.
Install .NET Core
Download .NET Core for Linux from the .NET Core site. Choose the Ubuntu, Linux Mint version. Follow the instructions on the .NET Core site to add the apt-get feed and install the SDK. There is quite a bit to type at the command prompt to add the apt-get feed. Here are the steps for Ubuntu 16.04:
- Add the dotnet apt-get feed
sudo sh -c 'echo "deb [arch=amd64] https://apt-mo.trafficmanager.net/repos/dotnet-release/ xenial main" > /etc/apt/sources.list.d/dotnetdev.list'
sudo apt-key adv --keyserver apt-mo.trafficmanager.net --recv-keys 417A0893
sudo apt-get update
- Install .NET Core SDK
sudo apt-get install dotnet-dev-1.0.0-preview2-003131
Hello World .NET Core on Linux
Follow the instructions on the .NET Core site to create a Hello World .NET Core application. Create a directory for your application and change to that directory then run this command to create a .NET Core project that outputs Hello World to the console:
dotnet new
This creates two files, Program.cs and project.json. The project.json file defines settings such as the version of .NET Core to use and lists the dependent packages. Run this command to download the required packages from NuGet:
dotnet restore
Then run this command to run the application:
dotnet run
This complies the code files in the current directory and looks for a class with a public static Main method to execute.
You should see Hello World! printed to the console.
Hello World ASP.NET Core
Follow the instructions in the tutorial on the ASP.NET site to download the code for a sample ASP.NET application to work from.
Run this command to unzip the sample code you downloaded while completing the tutorial:
unzip GetStarted-master.zip –d destination_folder
If unzip is not yet installed, add it using this command:
sudo apt-get install unzip
Change to the directory you extracted the source code to and run this command to download the packages listed in project.json:
dotnet restore
After restoring the packages, run the application with this command:
dotnet run
This will run the Kestrel web server and listen for HTTP requests on port 5000.
http://localhost:5000
You should see a message that reads Hello World! in your browser. Congratulations! You just ran your first ASP.NET Core application on Linux!
Install a Text Editor
You can write code under Linux too. To do this you will want to download a decent text editor. Visual Studio Code is a great choice. However, unfortunately, it does not work over XRDP.
Another great choice is Sublime Text editor. Follow these steps to install Sublime Text 2:
Add the Sublime Text apt-get feed:
sudo add-apt-repository ppa:webupd8team/sublime-text-2
Update your apt-get repository now that you added Sublime Text:
sudo apt-get update
Install Sublime Text
sudo apt-get install sublime-text
To run Sublime Text, click Applications then choose Sublime Text from the Accessories sub-menu.
Wrap Up
This concludes my walkthrough of how to develop and run ASP.NET Core on Linux in Azure. Leave a comment or send me a message if you have any questions or suggestions.